While I don't think I'll be able to post a "Sew with me"
every Sunday... I think it will be fun to share little tips and tricks on occasion. While I am in no way an
expert seamstress - I definitely have learned / improved a
ton over the last three years. I guess that's what happens when you do something just about every.single.day. {or at least you can hope that you'd improve / learn!}
I plan on sharing little "tutorials", peeks into my sewing process, and favorite patterns / designers - but I'd love to share things YOU want to learn about.... so whether you've never sewn a stitch in your life... or maybe you have a sewing machine that is almost always sitting in a closet.... or you sew off and on but still have questions.... or maybe you're a quilter who is
scared of sewing things like clothes.. or maybe you also sew just about every day but love to see how others work {yup, that's me!} - I'd LOVE to shed some light on the things I've learned / the processes I have adopted! I'd love to hear what YOU'D love to read / learn about - just leave a comment!
-----------------------------------------------------
One of the top questions I get about my sewing process is about applique. I have been doing appliqued onesies / shirts since Eggo in the Oven started - and understood the process *for the most part* when I started, but have definitely improved my precision sewing / applique skills over the last 3 years!
The process of applique is pretty simple - thanks to awesome products like
Heat 'n Bond Lite iron-on adhesive {or other iron-on adhesives... I just use HNB}. This post is in no way sponsored by Heat 'n Bond - these are my opinions and a product I have used for years and LOVE!
You can purchase Heat 'n Bond Lite by the bolt / cut from a bolt or in smaller pre-cut packages. The bolts tend to be on the shelves with other interfacing - often behind or near the cutting counter at the fabric store.
photos from fabric.com
The packages are usually found in the notions aisle. If you are planning on sewing your applique (not just cutting it out and ironing it on) - make sure you get the Lite version. There is also Heat 'n Bond Ultra - which is a no-sew iron-on adhesive..... and you do NOT want to throw anything with that on it through your sewing machine!
The iron-on adhesive has two sides - one side is textured, the other side is a smooth paper.
 Gather up your supplies - - - For this project I needed a onesie (not pictured), the various fabrics for each part of my design, my templates (hand-drawn this time around, but you can also use images from your computer, etc.), Heat n' Bond Lite, scissors, and the right needle. As I said, I was working on a onesie applique and I have found using a 75/11 embroidery needle to be the most consistent tool for the job!
A little note about using images from your computer to create appliques: Make sure you print them out as a mirror image, or flip them horizontally before printing (or after you cut them out of the paper). Otherwise your applique design will be "flipped" the opposite direction of the picture on your computer - as we will work with the BACK side of the fabric. If this is still confusing, I have plans for a post about applique letters in the VERY near future... so hang tight until then.
For the purpose of this post, I worked on an owl applique onesie - one of my first designs and one that I have made so many times I think I could do it in my sleep {or maybe I have done it in my sleep.... during those exhausted "I-have-a-new-baby" months?!} Anyway.... if you want to see examples of this design - check out my "Animals" onesie / shirt applique album on Facebook.
As you can see in this picture - I used scraps for much of my applique, and I pre-cut my HNB to the general sizes I needed. A note: all my fabric is pre-washed in free & clear detergent. This is highly recommended to reduce bleeding / shrinking when the finished item is washed.... and to allow the iron-on adhesive to stick.
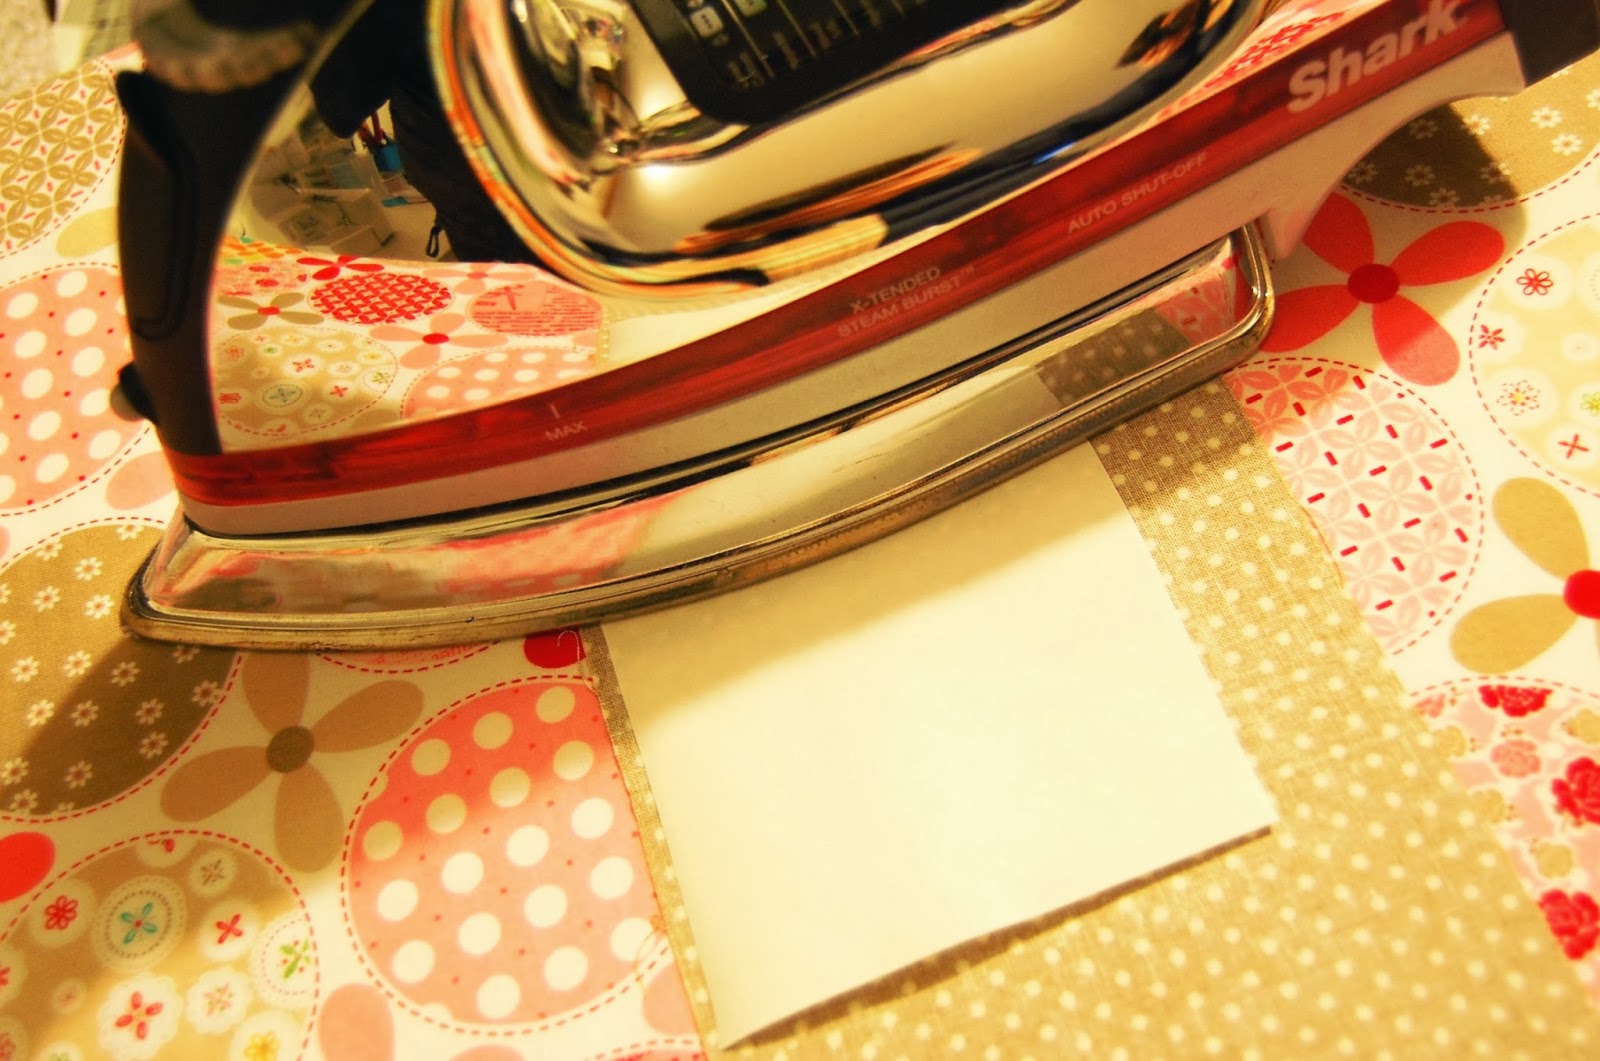
Set your iron to a pretty low, no-steam setting. For mine it's the wool / silk setting. Avoid overheating the HNB or it will melt into the fabric and will not allow for adhesion to the item you are trying to stick your applique to!
Now, flip over all your fabrics so that they are wrong-side up. Lay the HNB Lite paper side UP on the fabric (so the textured side is touching the back side of the fabric) - and iron!
Make sure your fabric piece is bigger than the piece of HNB - otherwise you'll be ironing that sticky stuff onto your ironing board!
Allow this to cool (it will cool quickly!) Now take your template and trace it onto the paper side of the HNB. Remember, if you printed something from your computer and did NOT flip it horizontally / print it as a mirror image, you want to flip it over to trace it - so that the printed side is DOWN.
Here are all my pieces traced and ready to be cut! (there
are two wings... they're just stacked... actually I
cheat and only trace it once, then put the pieces of fabric right sides together and cut out two layers at once - it produces two pieces that are the mirror image of one another!)
Cut out all of your pieces, following the lines you just traced. Are you starting to see the cute lil' owl?!
Next you are going to peel the paper off your pieces so that you can expose the other side of the adhesive and iron them onto your item. If your paper doesn't peel off easily (both the paper and the adhesive are peeling up) -
have no fear! - just take it over to your iron, and warm it up a bit more - you probably just didn't iron it *quite* long enough. Ironing it a little more should get that HNB to adhere.
For multi-part appliques I often iron down the pieces in stages (rather than setting them all on the item and ironing them all down at once) - because little pieces can wiggle / move. For these owl appliques I often position and iron down the body first, then add the wings / eyes / beak. Again, your iron should be on a low setting, no steam.
Next, I lay out the rest of the applique pieces - adjusting to get them *just right*
And then I iron them down! If you are new to applique, don't hesitate to do each piece on its own. I often do that, and I will just "tack" each piece down (iron it very shortly) so that they are stuck before I move on to the next piece (reduces wiggling / pieces "jumping"!). Then once all the pieces are down, I'll iron it once more to make sure all of the pieces are fully adhered. I recommend picking up and setting down your iron - rather than pushing it back and forth across the pieces - less chance of wiggling and more exact placement!
So cute! Now.... it's time to sew!
Sewing can be tough. When I first started, my lines weren't as straight / consistent, and I hadn't mastered the art of starting / stopping at corners quite like I am able to today - but
that's okay! This is a handmade item, perfection is NOT expected... and imperfections??? I like to embrace them and call them "character"!
Most of my appliques are sewn on using a zigzag stitch. The width / length of that stitch really depends on the item / piece I'm stitching. If you want a pretty consistent, classic zigzag, keep a 2:1 ratio between stitch width and length (like shown below - stitch width is 3.0, length is 1.5)
You'll want to experiment with your settings and decide what width / length stitch you want to use. For this owl, I use a 3.0 / 0.8 for the black of the eyes, 3.0 / 1.5 for the white and beak, and 3.5 / 1.5 for the wings / body. Why? Because I've sewn about a million of these suckers, and those are the ratios I like! But there is NO right width / length! Some people prefer a more dense satin stitch (I don't... it takes tons of time, and thread, and shows imperfections MUCH more!) - but try some out and see what you prefer!
Now.... start sewing! For this project, I already had white thread in my machine, so I started with the white of the eyes. You want to stitch so that the zig-zag runs right along the outside edge of the piece you are sewing. I always stitch so that the outside edge is the right-most point of the zigzag - it's habit! Don't worry if some of your stitches land just outside the piece, and some just inside - it will be fine. Remember, you have that HNB helping keep the item on - and little bits of fraying, etc., are totally normal with handmade items! Remember - imperfections add character!
Then I changed to green thread and did the beak / body / wings. Lastly I did the black of the eyes (though I didn't take a picture of that). If you are sewing a onesie, take your time at sharp corners (like the points of the wings). The onesie material is stretchy and can easily get caught in your machine. Try not to pull the onesie - try to let the sewing machine do the work for you.
Clip your threads (front and back) - and admire your work!
See how you don't really see most of my stitching - that is because I don't use a dense stitch. The denser your stitch, the more you'll see it (which is fine - and often looks really nice as it really outlines each piece) - I just love the softness of allowing the fabrics to define the shapes!
If you made it through all of that - YAY! Have questions? Feedback? Other tips / tricks? Comment below - I LOVE to hear from you!
I have another onesie to make this week that will include appliqued letters - I'll make sure to take pictures of that process which will help better explain the "mirror image" concept, too!



 - I KNEW I needed them ASAP. While they don't work for EVERY situation you would use pins - they're a pretty great substitute most of the time!