Obviously I was *just a bit* excited about the start of Project Quilting!
Plus... the idea I had was something for OUR home - for a space that I had been meaning to make / display SOMETHING in since we moved in {you know... almost a year ago!}
I had some great sewing time thanks to good naps from the boys yesterday - and it being the weekend so the hubby was home. I meant to take a break last night and finish up the rest of the week.... but somehow I managed to finish the whole thing and then realized it was WAY past my bedtime! :)
When I left you last I had sewn together my strings in orange, green, grey, brown, and yellow. And I had a bolt of solid medium blue fabric just hanging out.
Next, I cut strips of the solid blue that were 1.75" and 2.5" wide. I sewed 6 of them together, alternating between the sizes. Then I went over to my cutting table and cut 6.5" wide strips at an angle. I'm not quite sure the angle - - - I just eyeballed it and then repeated - it was 3.5" from where my ruler met the bottom and the top of the strip. Half of the strips were cut one direction, the other half the opposite direction. The 6.5"??? Yup... done because my ruler is 6.5" wide and it was easy! :)
Okay.... did that sound like a bunch of gibberish to you??? I didn't take a picture during the process... but here's one I just snapped of the concept. See how the point where the ruler meets the bottom of the fabric is 3.5" to the left of where it meets the top of the fabric?

And if that's still clear as mud - here's a GREAT tutorial done by one of my FAVE quilting bloggers - Maureen Cracknell Handmade {and seriously, you should check out her beautiful quilting / blog.... AMAZING!} - I actually used the tutorial / concept for last year's PQ "Page 28" challenge! Then I cut each strip of zig-zags to 9" tall - and sewed the two strips together.
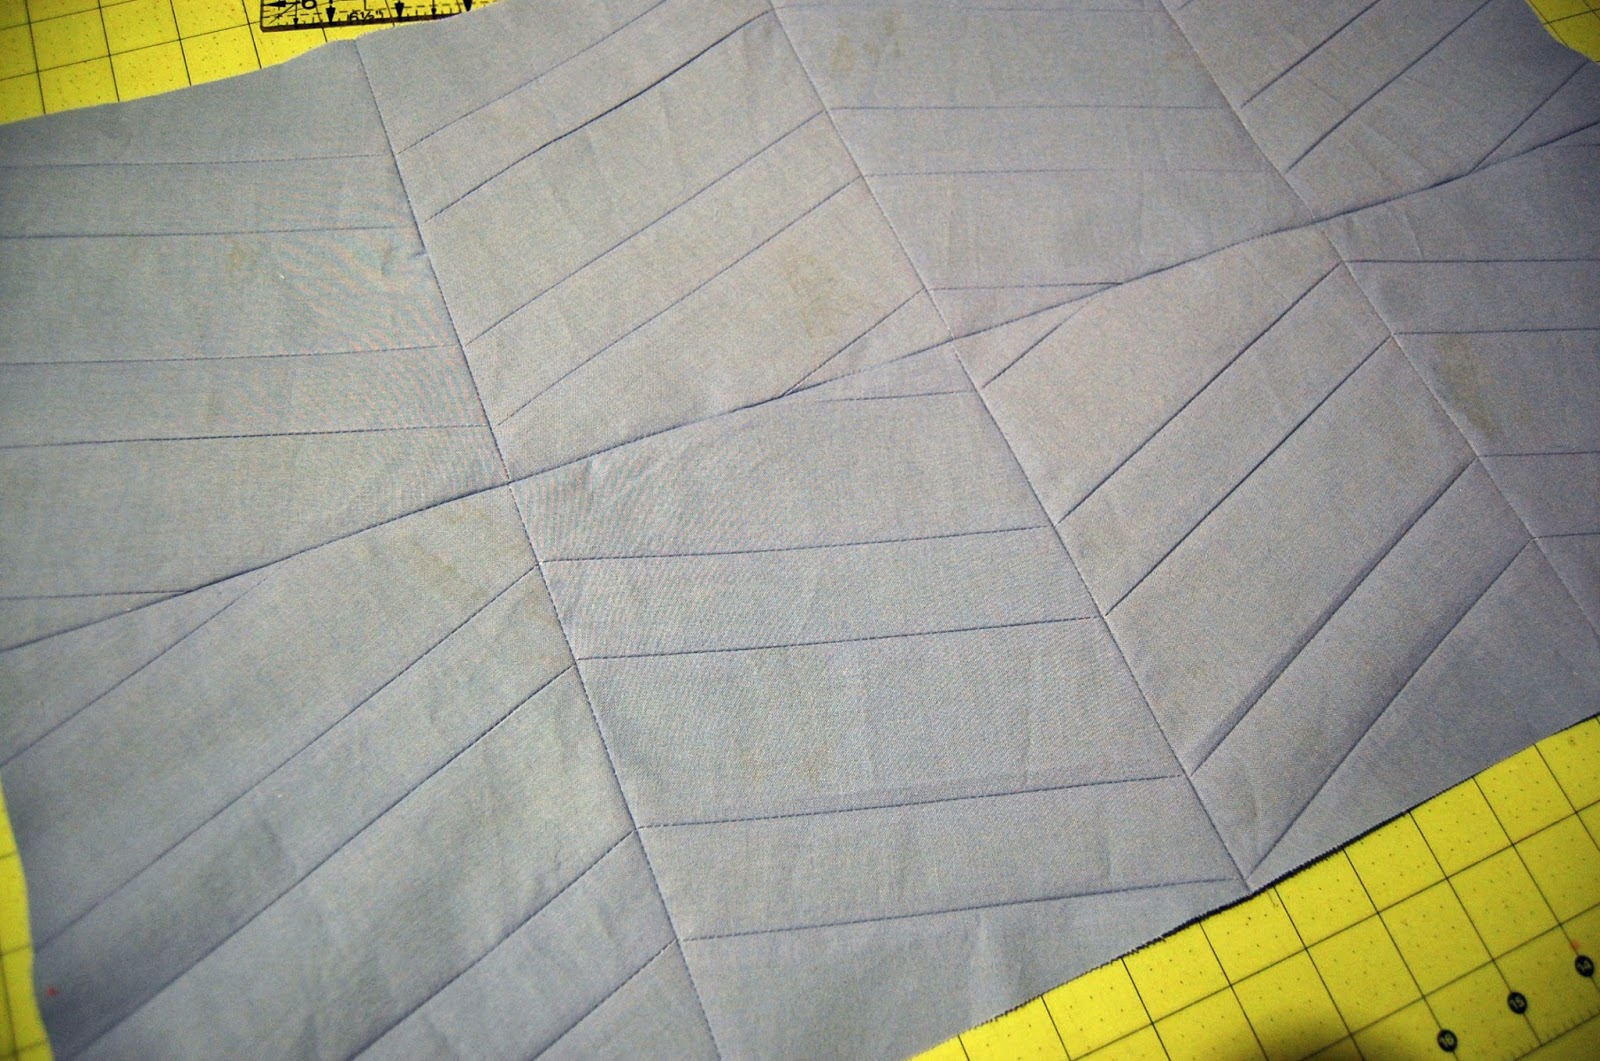
I ironed on some fusible fleece for the batting - I like using fusible fleece for wall hangings, etc., because it's a bit stiffer than standard batting (and I have it around & ready to use - I use it for stockings and coffee sleeves!). I cut a piece of the solid blue that was bigger than my pieced "top" and spray basted the top / fusible fleece piece to the backing. I went with the solid blue for the back as well because it was going on the wall - so I didn't care what the back looked like!
To help take the chevrons (which I felt did a pretty good job representing water / waves) look even MORE like ripples in the bathtub I quilted some wide horizontal wavy lines.

Somehow I took NO pictures of the applique process - I think because it's something I do SO often - and I was on a roll! But.... I think I will do a post on my applique process in the near future - it's something I get questions about on a regular basis and I have done TONS of applique over the last 3 years!
For this project, I used Heat & Bond Lite ironed to the back side of the strings, then cut out each letter, ironed them on, andused a pretty wide zig-zag stitch to stitch them down. I kept my integrated walking foot on my Janome (LOVE that foot) because it was pretty thick and it really helps move smoothly in spite of the layers.
Here it is all quilted and ready to square up / trim - then bind!

I squared it up to approximately 16" x 25" - then I cut binding strips from various navy fabrics and pieced together a scrappy roll of binding. Then I machine bound the wall hanging. I briefly considered adding a hanger (for display) - but I wanted it to stay nice and level... so I just opted to use push-pins to put it on the wall!


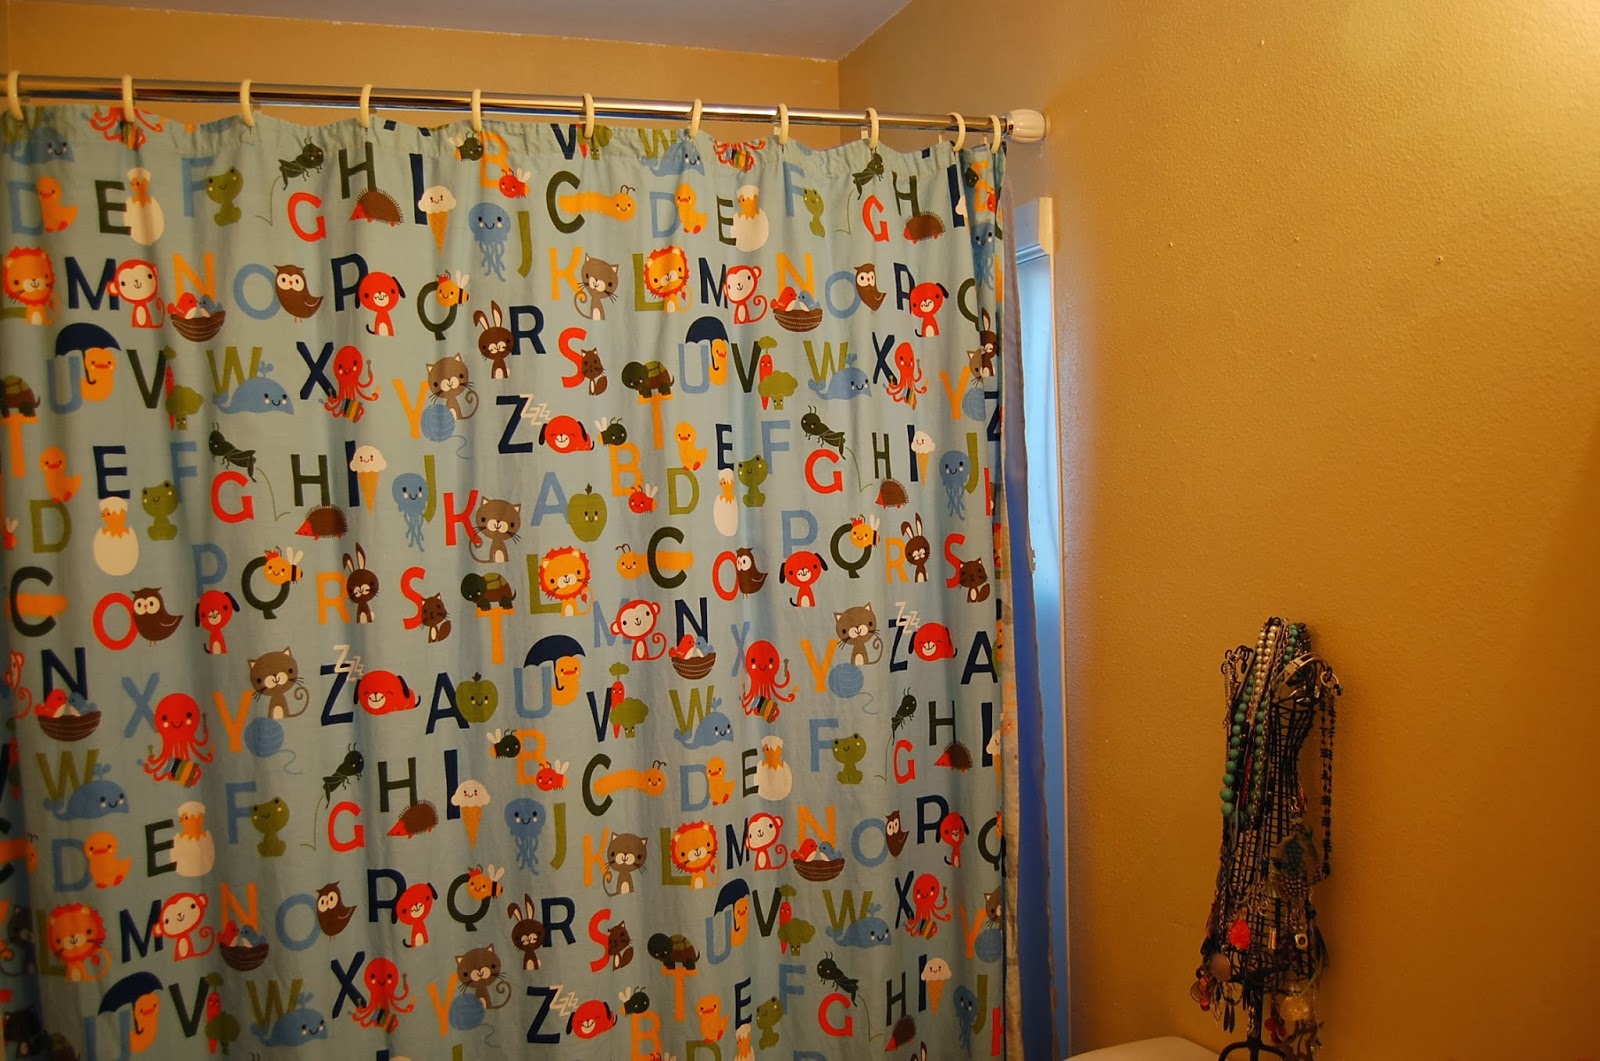
I just love how it looks up on the wall - the colors pop, it coordinates great with that shower curtain I LOVE, and I sewed something for US! :)
It's not too late to join in on this week's challenge!!!