Showing posts with label family. Show all posts

Monday, January 22, 2018

It’s been a while..... a LONG while!

This post contains affiliate links which means I may receive a commission if you purchase something through that link.  Thank you for supporting me & my family!  I only promote items I truly love and believe in.
-----------------------------------

Wow - it has been a LONG time!

I promise they're ALL excited about their sister's arrival! :)
Since I last blogged, our family has grown - twice. We have moved - twice.  We have done big ol’ home remodel projects. Life has gotten more hectic but also awesome. I have gone through waves of creativity followed by severe creative droughts. At this point I’m pretty sure “balance” is a make-believe word..... but I do strive to include all areas of my life - creative, Mom, wife, friend, fitness enthusiast, ice cream lover - daily.

Our little Adalynn wearing a dress named after her - The Adalynn from Mamma Can Do It Patterns
I have missed blogging, and have been doing lots more sewing recently, so I’m going to try to get back to sharing about life / my creative endeavors as much as is possible with 4 kids ages 4mos - 7 years!


I hope you are doing well, too!

Thursday, May 29, 2014

A quick "hello!" {yes, I'm still here.... kinda}

Wow.  9 days since my last post?  Yikesa!

In all honesty.... I've been in a creative funk.  I think of projects I'd like to work on - and then when I happen to have a few free seconds {because that's about all I'm getting these days} the inspiration just isn't there!

Busy life, good healthy changes going on, active and growing kiddos, bits of sunny weather - - - so much to do, so little time!

I told my husband the other night I need to either take a BREAK (like for real.... intentional.... where I don't still feel like I should be doing some sewing / creating) - - - - or I need to chain myself to my sewing machine and "sew through it"!

Neither of those options are very practical..... so I think I'll go with option 3: attempt to get a bit more sleep (lately we have been averaging about 5.5 hours a night!), work through paid custom orders (not many... but a few are still hanging out there!), and then grab some FUN fabric and just SEW.

How do you get yourself through a slump / funk?  Whether it's in your creative life, work, fitness goals, personal goals.... I know we all go through them - and there's no miracle cure for them..... but help a mama out! :)

One thing I AM doing {that I think will help} - I'm running my first 5k in just over a week!  I have always HATED running.  No joke.  But tomorrow (or Saturday) I will complete the last run of my couch-to-5k training program - having run for 9 straight weeks at least three times a week.... and the following weekend I have friends and family ready to run a fun color run to celebrate!  I know it will be an awesome accomplishment - and the fact that I'm *this close* to completing this goal (and then making more!) is very energizing!

I haven't done TONS of sewing lately - though I somehow seem to be accumulating more fabric (oops!?) - but I have worked on a few projects....

Sneak peek of an item I made for a pattern tester {pattern releases in June - I'll share more then!}  Yes... I was brave and cut into some Art Gallery for this one!!!

This cutie pie was "helping" me with my photo shoot

*Just about* finished with some fun baseball jerseys for my friend's twins.  I made them onesies about 3 years ago - - - crazy how much our kiddos have grown!


Monday, January 13, 2014

ALYOF January 2014 - finished!

As it was my first month of A Lovely Year of Finishes, I made my January goal fairly small / simple - making a stop sign pillow for little man #1's new "big boy bed".

Can you tell he likes it?  I went to take pictures and he said "Are you going to take the picture of the pillow with me??"  Umm.... how could I resist?!

The pillow is about 15.5" across.  I used applique for the letters.. and after consulting some pictures (and a quick chat with the hubby) determined the white band around the outside was necessary.  That took a little more time / effort - but I think it was worth it!

I didn't have enough stuffing (since I've been making some adorable plushies recently!) - but I did have an older throw pillow that we no longer use.... so I cut that sucker open and used the filling from it.  I didn't have *quite* as much as I wanted.... but it works!  


I purchased the red blender fabric from Marcia's Crafty Sewing and Quilting (it's not solid red... though it looks that way in the photos!).  The white is actually muslin (yuck, so thin... but it's what I hand and I'm not allowed to buy fabric until I make 62 more items.... so I made do).  I used two layers of the muslin (to help it be a *little* less see-through) for both the applique and the border.  


So excited to have sewn something for one of my little dudes - I'm thinking next month's goal will be something for Little Man #2 :)

This month's ALYOF is closed (goals have to be posted / linked up by the 7th) - but you can join in next month!
My Button

Friday, January 10, 2014

Handmade Holidays 2013

Thanks to making the tough decision to close my shop for a bit at the end of last year, I was able to complete a BUNCH of projects that had been on my "maybe if I end up with time {HA!}" list.

On that list {in a very general manner} were Christmas gifts for close family / friends.  Did I think that would happen?  NOPE!  But...... I was actually able to find a little bit of time at the end of the year - and this is some of what I came up with!

A personalized zippered pouch and matching mini wallet (made using this Modest Maven tutorial) for my brother's girlfriend {the fabric is one she
picked out herself, and with my help sewed up a cover for her kindle.... so I knew it was one she liked!}


Three sets of hanging kitchen towels (also sold in my Etsy shop - though I really need to add in some non-holiday ones!) - for my parents, my sister & brother-in-law, and my brother

A set of two coffee sleeves for my parents (also available in my Etsy shop!)

And... of course.... the 7 pairs of PJ pants for my boys!


I also sewed our family custom stockings this year - finally - after having stashed fabric for a couple years now (that I didn't end up using!) - and after realizing we must have just grabbed a "sample" stocking for Little Man #2 last Christmas (yup... mom of the year!).  I used the Stockings With Style pattern from one of my FAVORITE pattern writers, Tie Dye Diva Designs.  Can't wait to share more pictures of those very soon!

Monday, January 6, 2014

"String Along With Me" - FINISHED!

Yes.... finished!

Obviously I was *just a bit* excited about the start of Project Quilting!

Plus... the idea I had was something for OUR home - for a space that I had been meaning to make / display SOMETHING in since we moved in {you know... almost a year ago!}

I had some great sewing time thanks to good naps from the boys yesterday - and it being the weekend so the hubby was home.  I meant to take a break last night and finish up the rest of the week.... but somehow I managed to finish the whole thing and then realized it was WAY past my bedtime! :)

When I left you last I had sewn together my strings in orange, green, grey, brown, and yellow.  And I had a bolt of solid medium blue fabric just hanging out.

Next, I cut strips of the solid blue that were 1.75" and 2.5" wide.  I sewed 6 of them together, alternating between the sizes.  Then I went over to my cutting table and cut 6.5" wide strips at an angle.  I'm not quite sure the angle - - - I just eyeballed it and then repeated - it was 3.5" from where my ruler met the bottom and the top of the strip. Half of the strips were cut one direction, the other half the opposite direction.  The 6.5"???  Yup... done because my ruler is 6.5" wide and it was easy! :)

Okay.... did that sound like a bunch of gibberish to you???  I didn't take a picture during the process... but here's one I just snapped of the concept.  See how the point where the ruler meets the bottom of the fabric is 3.5" to the left of where it meets the top of the fabric?

And if that's still clear as mud - here's a GREAT tutorial done by one of my FAVE quilting bloggers - Maureen Cracknell Handmade {and seriously, you should check out her beautiful quilting / blog.... AMAZING!} - I actually used the tutorial / concept for last year's PQ "Page 28" challenge!  Then I cut each strip of zig-zags to 9" tall - and sewed the two strips together.

I ironed on some fusible fleece for the batting - I like using fusible fleece for wall hangings, etc., because it's a bit stiffer than standard batting (and I have it around & ready to use - I use it for stockings and coffee sleeves!).  I cut a piece of the solid blue that was bigger than my pieced "top" and spray basted the top / fusible fleece piece to the backing.  I went with the solid blue for the back as well because it was going on the wall - so I didn't care what the back looked like!

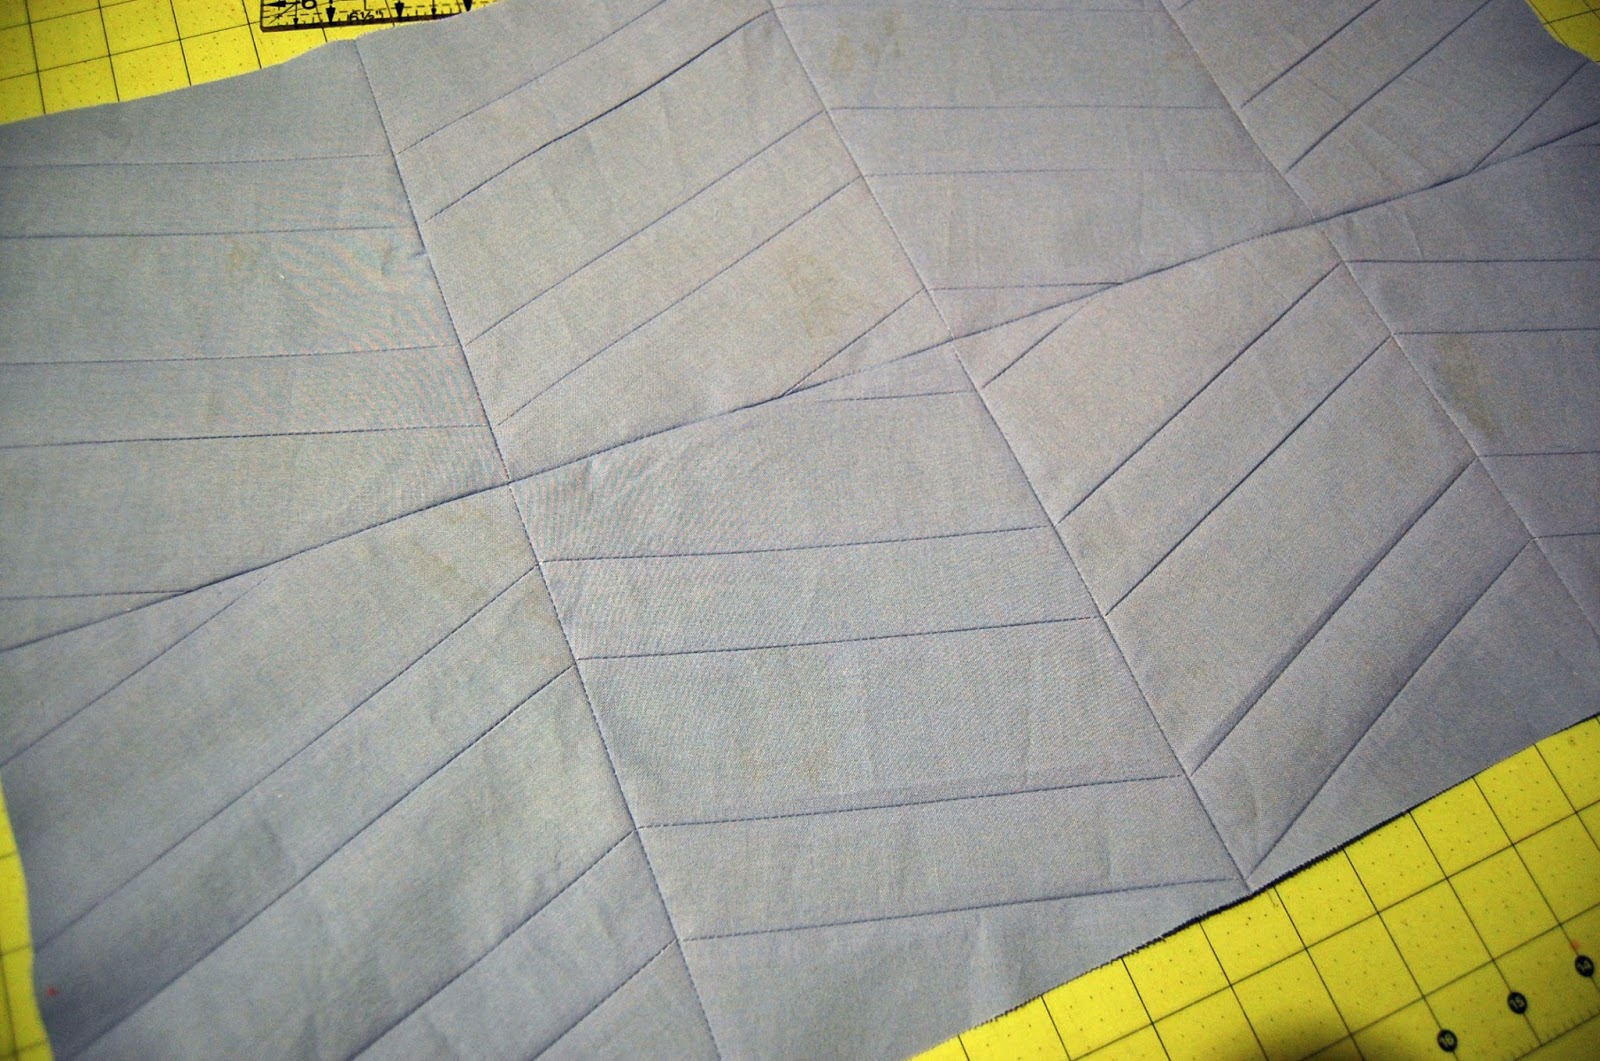
To help take the chevrons (which I felt did a pretty good job representing water / waves) look even MORE like ripples in the bathtub I quilted some wide horizontal wavy lines.

Somehow I took NO pictures of the applique process - I think because it's something I do SO often - and I was on a roll!  But.... I think I will do a post on my applique process in the near future - it's something I get questions about on a regular basis and I have done TONS of applique over the last 3 years!

For this project, I used Heat & Bond Lite ironed to the back side of the strings, then cut out each letter, ironed them on, andused a pretty wide zig-zag stitch to stitch them down.  I kept my integrated walking foot on my Janome (LOVE that foot) because it was pretty thick and it really helps move smoothly in spite of the layers.

Here it is all quilted and ready to square up / trim - then bind!
Font used: BD Cartoon Shout - find it here

I squared it up to approximately 16" x 25" - then I cut binding strips from various navy fabrics and pieced together a scrappy roll of binding.  Then I machine bound the wall hanging.  I briefly considered adding a hanger (for display) - but I wanted it to stay nice and level... so I just opted to use push-pins to put it on the wall!


I just love how it looks up on the wall - the colors pop, it coordinates great with that shower curtain I LOVE, and I sewed something for US! :)

It's not too late to join in on this week's challenge!!!

Wednesday, December 25, 2013

Sunday, December 22, 2013

The night I sewed seven pairs of pants

A little while back I made my boys some pants.  Simple, silly pants - made from mustache fabric.  Colby {my 3-year-old} LOVED his mustache pants.  He wore them for a couple days {yes, I let my 3-year-old wear the same pants for multiple days in a row}.  He then declared he couldn't wear any of his other pants because "they're not REAL".

It took LOTS of convincing.... and maybe a few idle threats.... to get him to put on pants that were not REAL.  It made me giggle.... but also warmed my heart.  He walked around looking through my bolts of fabric - picking out more favorites for all the "real pants" he expected me to make - - - for our whole family.  Watermelons for Daddy, strawberries for Mommy, more mustaches for Brendan, and "Go Beavers" for himself.

The seven pairs of pants I mention in the title of this post?  There are not watermelons or strawberries..... however, I did make seven pairs of pants... for my kiddos, in time for Christmas.... and NOT on Christmas Eve! ;-)


Yup..... seven pairs..... some matching, and one more pair of mustache pants!

We have penguins.....
{our family LOVES penguins.... the boys will be getting these pants Christmas Eve!}
Fabric purchased from a member of Fabric Crafters U Bid It Destash

.... and dinos rocking out ....

... and another pair of awesome mustache pants 
{this is the fabric I used for Brendan's original mustache pants.... and Colby LOVES it and tried to convince me I had promised him a pair from that fabric, too....}

I also made matching pants from a cute light blue flannel with trains on it - but I guess I didn't take a picture of those!

So.... I hope my kiddos don't give me the "seriously mom, clothes for Christmas?!" look!